Video Transcript
Base Cooktop Butt Door Cabinet Assembly
Introduction
It's a glorious day here at Cabinet Joint. I'm Justin, and in today's video I'm going to be showing you how to assemble a base cooktop butt door cabinet. This is designed for your modern flat cooktop that sits on top of your countertop. This is going to be a pretty straightforward assembly. There are no curveballs or anything here on this cabinet. So, let's get right into the tools that you're going to need.
Tools & Supplies
The tools that you'll need for this assembly are, of course, your drill and driver with a Phillips head and a square head. I also have a drill with a ⁷⁄₆₄" bit, as well as wood glue, a rubber mallet, your Cabinet Joint inset jigs, a tape measure, a pencil, a Phillips-head screwdriver, an 18-gauge stapler gun (you can also use a brad nailer), and then all of the hardware—your hinges, your brackets, and your glides.
Those are all the tools that you're going to need. Let's get into assembling the cabinet.
Base Cooktop Cabinet Assembly
We're going to start this assembly by first locating where our back brackets are going to go for our drawers. My cabinet did not come with those holes pre-drilled. Yours might, but if they're not, you can use the classic trick of putting your face frame on your back, lining up each side, and then drawing those bottom corners, marking them out. Take your back brackets, and those will line up between your outside two holes.
It's important to note as you're doing this, make sure that your back panel is oriented correctly. It's easy to flip it upside down. So, make sure that you have your top and your bottom clearly marked.
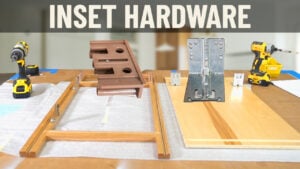
Once I have my back brackets installed, I can then move on to the back of the face frame. Since this is inset, I need to put on my hardware. I'm going to be putting on the door brackets first. I'm using my Cabinet Joint inset hinge jig to do so, making sure I'm drilling at an angle, as well as using a ⁷⁄₆₄" drill bit. That way, I don't take out those collars.
Once I get all four of those drilled out, I'm then going to install those brackets. A little life hack: if you install the screw that is on the right from the perspective of the opening, your screw will actually tighten the bracket to the front frame. Sometimes, if you go the other way, it'll want to fight against you.
Once I have my hinge brackets installed, I can move on to my brown TENTEX drawer brackets. Using a #2 square-head driver and the screws that come provided, I'm going to install those in the bottom corners of the drawer opening.
Now that all of my brackets and hardware are installed, I can start assembling the cabinet.
I'm going to glue down both sides on both ends of that groove, not in the middle. Then I'm going to glue the outer shoulder of both the top and bottom. On the top, I'm gluing the top strip. On the bottom, I'm gluing the bottom strip. That way, glue doesn't get inside my cabinet. You can do both if you would like.
I'm going to first place my top stretcher in. That way, it'll stabilize my sides. I'm going to put glue on the sides of those stretchers, then slide both of my sides into place using the sliding dovetails.
Once I have those installed, I am then going to put my bottom in. Once that bottom slides in nicely with those sliding dovetails, I'm going to do the exact same thing for the middle divider. Of course, I'm putting glue inside those dovetail grooves halfway up because, as you push it down, that glue will spread the rest of the way.
Remember, you're only putting glue where raw wood is going to be touching raw wood.
Now I'm going to put the back top stretcher on the back panel first before I install it in the cabinet. I just think it's easier this way. So, I'm going to glue and staple that, and now I am ready to put on my back panel.
Once again, I'm gluing the outer perimeter, as well as the back of both the middle divider and the bottom panel. With all that glued, I'm now going to install the back panel, using my rubber mallet to make sure everything is seated all the way down as it should.
Once it is seated, I'm going to staple the bottom to keep it in place. Then I'm going to use our Cabinet Joint inset jig and use that scribe line for the cabinet side along the sides. Using that pencil mark as a guide, I'll shoot my staples.
Once my sides are all stapled, I'm then going to staple the middle panel. This has those pre-bored guide holes for you to follow across the middle. Stay in line with those holes, and you won't have to worry about stapling inside your cabinet.
Now our cabinet box is assembled, and we can go ahead and start putting in the drawers.
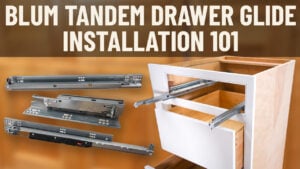
I'm taking my glides, and I am going to use the machine screws to install them, lining them up with the very front of that hole where the screw goes. Once I have both of those tightened and installed, I can put my drawer in. Using the Blum adjustability on those clips, I'm going to adjust the reveals to make sure everything is consistent and perfect.
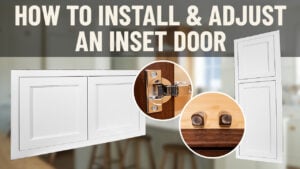
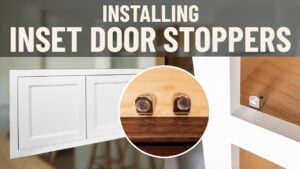
I like where my drawer is at, so I'm going to move along to my doors. I'm going to get both of those clicked into place, and now I'm going to use our Cabinet Joint inset jig once again to locate and drill for our door stops.
I'm doing that by closing one door, lining up that center carrot with the side of the door, drilling, and screwing in our door stops on either side.
Now that the door stops are in place, I'm going to use the adjustability on my hinges to get the reveals all around the doors perfect.
If you have any more questions on the drawer glides, the drawer installation, the doors, or any of that, we have links in the description for all of that.
Once I have all the reveals where I like them, I'm complete, and my cabinet has been assembled.
The Finished Product & Summary
This creates a really nice, unique storage option for you. It's nice to have the ability to keep your pots and pans right underneath where you're going to cook and where you're going to use them.
This is an inset application. If it were overlay, the steps would look just a little bit different, but overall they would be the same.
That was a pretty straightforward assembly. Some things you want to keep in mind as you are putting it together: once again, make sure that back panel is oriented correctly so you don't have it upside down. That's an easy mistake to make. And if you have an inset cabinet, make sure those brackets are installed before you start putting everything together.
If you have any other questions about your cabinet or assembly, you can reach out to your cabinet coach, or you can call us at 888-211-6482.
Thank you for watching. Have a great day.