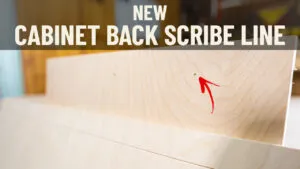
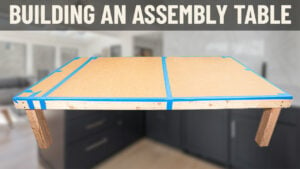
Here’s what you need to know before you begin assembling your cabinets. Take a few minutes to review these 4 points so you can speed up your cabinet assembly time and avoid frustration. Comment, give us a call, or reach out to your Cabinet Coach with any questions. We hope you enjoy your new cabinets!


Where can I find the video Brian mentions on breaking out the Blum hardware kits into cardboard boxes and organizing screws into different cups? It’s mentioned in several videos but I’m unable to find it in the video library. Thanks!
Hi Scott,
The video explaining how to break apart and organize your hardware is a video series we send to customers who have purchased from us.
You will receive an email shortly containing this video. Thanks!
May I get the video explaining how to break apart and organize your hardware is a video series because I’m a customer beginning assembly.
Hey Matthew – thank you for your question – I believe the video that you are referencing is part of our “Getting Started” Series. Here is the VIDEO. If you need any additional assistance, please reach out to your Cabinet Coach directly for a more prompt response. Have a great day!
Regarding splines–I’ve found that about half of the splines in each cabinet piece are inserted upside down, meaning the 3-ridge side is out instead of the 2-ridge side. This keeps the piece from nesting fully into the groove prepared for it. No amount of pounding/pushing will get it fully seated. (The prepared groove in the face frame only has room for the 2-ridge side. If you look super close, you can also see that if the 2-ridge side is in the side/bottom/etc piece, then there is a tiny gap at the bottom of that groove, since it’s deep enough to accept the 3-ridge side.) After much frustration, I figured it out, and now check each spline before starting assembly. If it’s sitting proud of the others, or I see 3 ridges, then I pull it out with pliers and reinsert it with the 3-ridge side in the side/bottom/etc, and the 2-ridge side sticking out and facing the face frame. This has made a huge difference in assembly! My first few cabinets…sadly are a bit skewed (1/16″ off). Hope this helps others with their assembly process!
Amy – thank you for bringing this to our attention! We are doing more research on our end and will work with Conestoga to determine a solution!